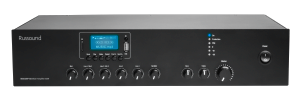
D1675 16-Channel 75W Digital Amplifier
Premium Performance & Exceptional Reliability
The perfect multi-channel amplifier for any need
Intoducing the all-new D1675, a 16-channel, 75 watts per channel amplifier that joins the D1290 at the forefront of Russound’s amplifier assortment.
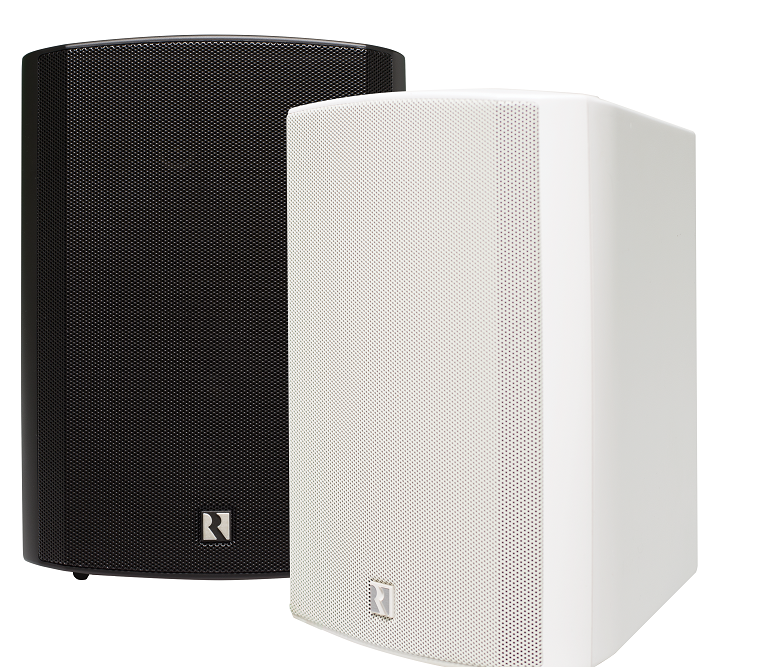
Showcasing the latest industrial design and filled with the best in premium audio components, the D1675 is perfect for adding additional audio to any room in the house that needs more power and dynamic range to bring the sound to life.
With powerful features like bridgeable channels that can provide up to 150 watts of power when needed, to Russound’s first built-in audio filters that allow the amp to focus either on traditional full range audio, to focus on low frequency sounds to power your favorite subwoofers, or to focus on high frequency sounds that allow the amp to pair perfectly with architectural speakers that typically can’t reproduce low frequency sounds to maximize the efficiency of both amp and speaker together.
With quick to configure rear-panel switches for all settings, the D1675 is one of the easiest amplifiers to install on the market today.
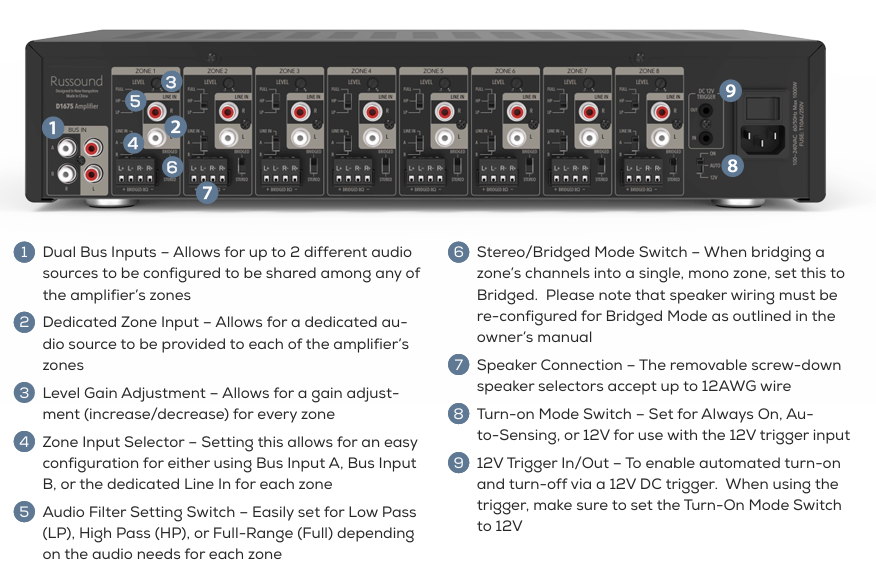
Quick, easy install with rear panel switches for all settings
Voltage-tracking Power Supply for more dynamic sound
Built-in Automatic Protection for: Short-Circuit, DC Output, Thermal Overload, Over-Current Conditions, and Clipping
Built-in audio filters to tailor the sound for the application